Hi! This is Z.com editorial team.
Following the previous article which wrote about how to sign up and charge, we introduce how to add a server at this time.
There are two ways of how to add a server at Z.com.
| 1. Adding a server from the dashboard |
This is how to add a server from the dashboard at the Z.com’s control panel.
●1-1. Make sure you are on the dashboard at the Z.com’s control panel.
If you are on any other page, click the Z.com logo located at left top of the page to move to the dashboard.
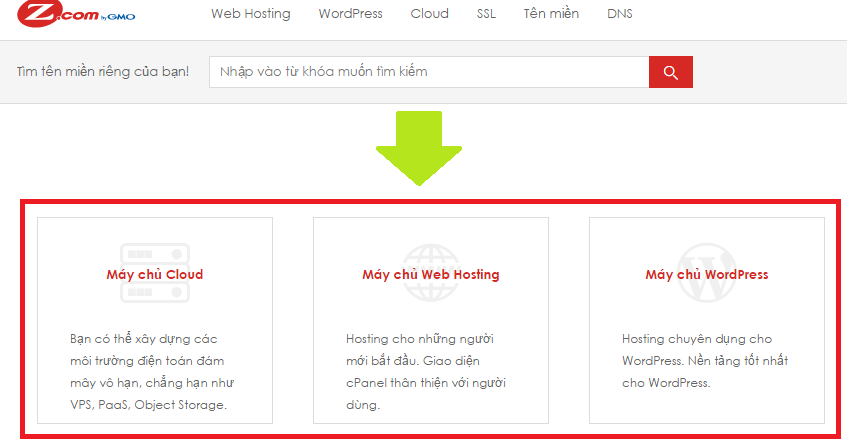
●1-2. The three types of the servers(Web Hosting, WordPress, Cloud) will appear at the top of the dashboard page. Place the mouse cursor over the type of the server you’d like to add.
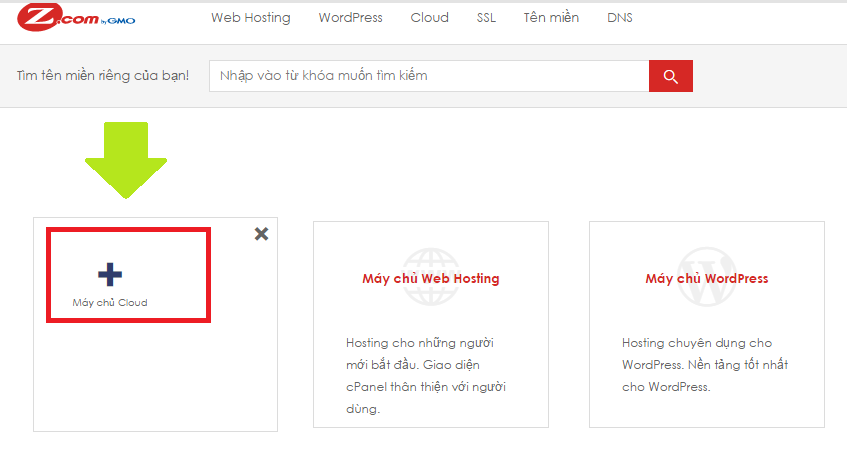
1-3. Click the “+” button which appears over the server name.
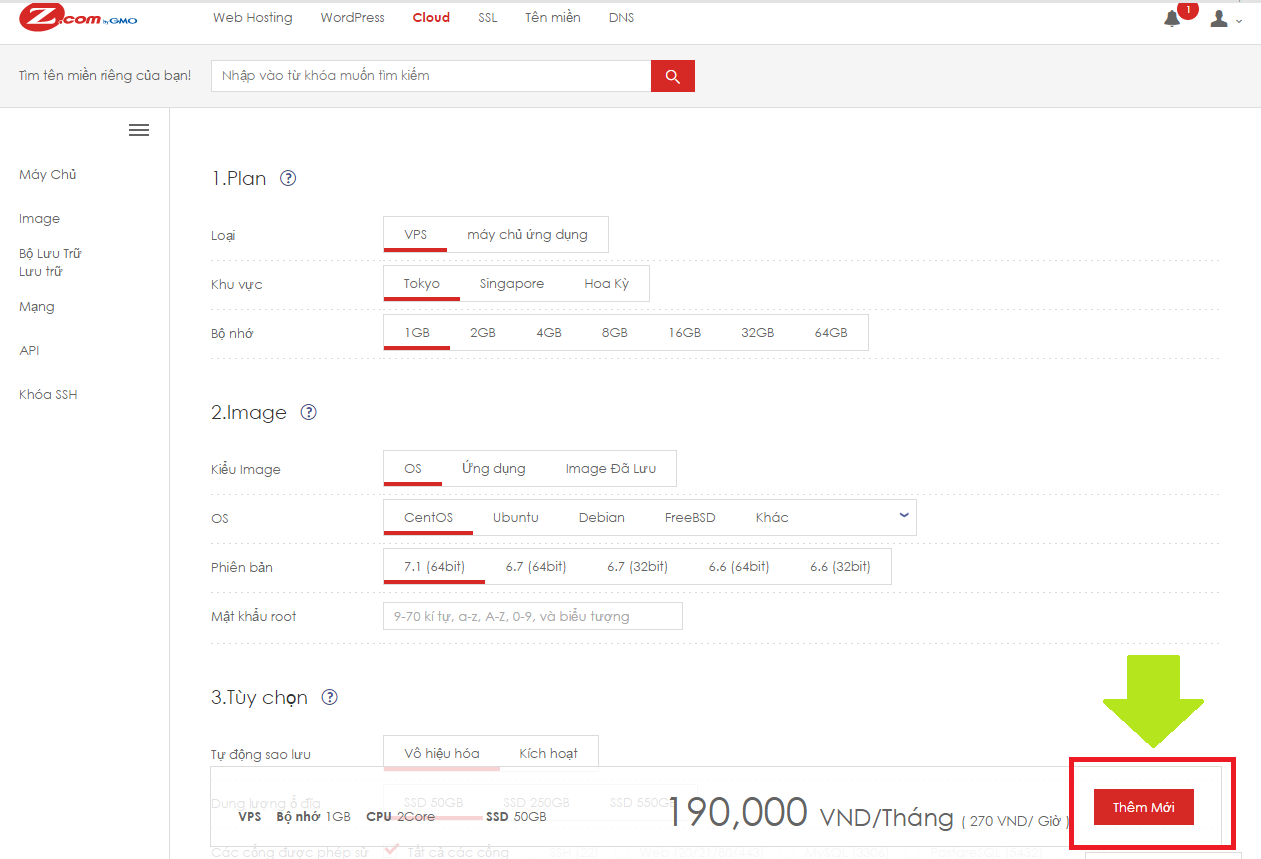
●1-4. An additional server settings page will appear. Choose a plan, enter or choose the required information, and then click “Add.”
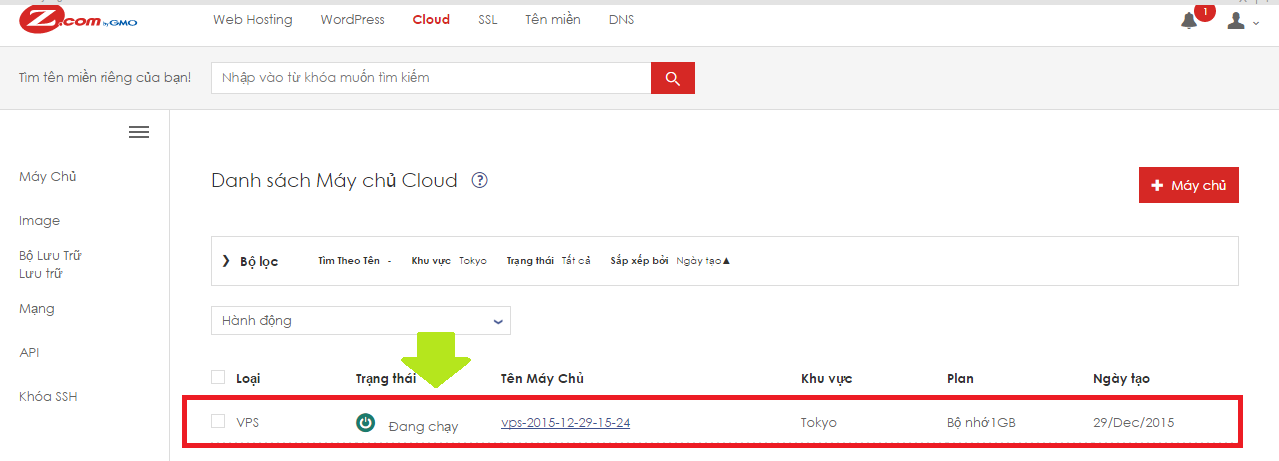
●1-5. The server list page will appear. The server you have just added will appear on the list.As long as the server’s status changes from “building” to “Running,” you are ready to go.
| 2. Adding a server from the each server admin pages |
This is how to add a server from the each server admin pages.
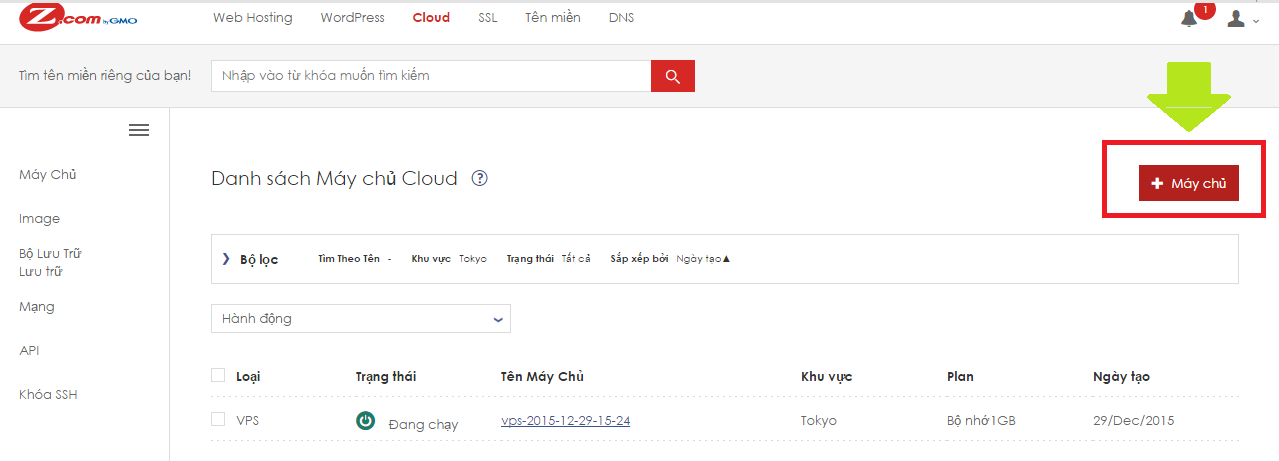
●2-1. Click the type of the server you’d like to add at the top of the page from the dashboard.

●2-2. Click the “+Server” at the right top of the page to move to an additional server settings page .
*After that, please r
efer to 1-4 and 1-5 above.
Were you able to add a server?
From the next article, we will provide more details about the items at the additional server settings page for each servers.
—————————————————————————————————————————————
Thank you so much for reading this article.
We’d like to send you relevant and insightful information about Domain, Shared Hosting, WordPress Hosting, Cloud Hosting and SSL.
If you have any comments or request, please feel free to contact us.
Have a great day!


